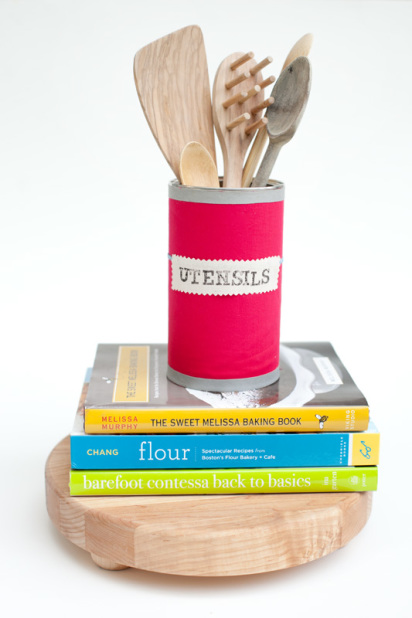
I’m all about repurposing items for new uses and today’s MakeKind project is just that. I’ll be showing you how to make a personalized canister to house some of your most well used and well loved kitchen utensils from a left over coffee can…
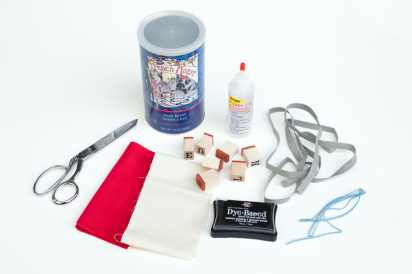
MATERIALS // Coffee can (empty & clean), fabric in two contrasting colors, ric rac or ribbon, bias tape, alphabet stamp set (similar), stamp pad, pinking shears (optional), fabric glue.
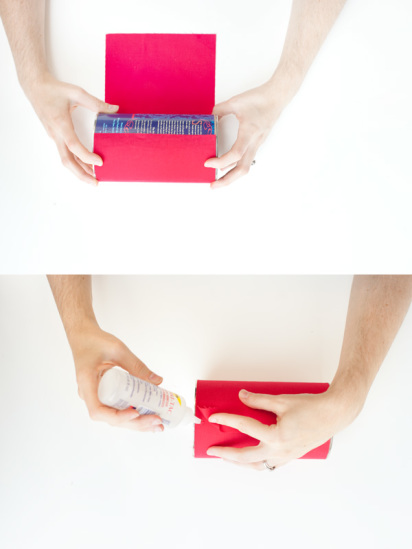
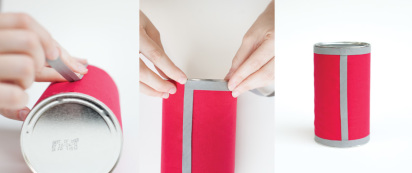
STEPS // 01 MEASURE & WRAP Measure the height and circumference of the canister and add about 1″ to the circumference measurement to ensure some overlap. Next glue the fabric to the canister using fabric glue. You will only need to use small dots of glue on each corner of the fabric and down the seam to finish it. The fabric glue does tend to bleed if you use too much, so less is more here!
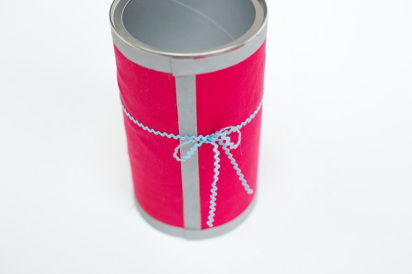
02 // GLUE BIAS TAPE To finish the seems, use fabric glue to adhere bias tape along the vertical seam in the back and along the top and bottom of the canister. Again, using small dots of glue. Let dry.
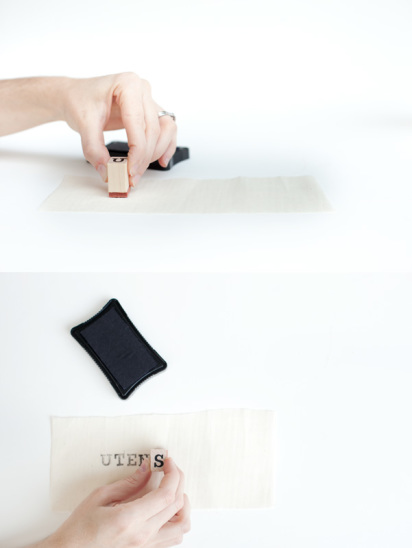
03 // STAMP THE LABEL Using the stamps and ink pad, stamp out the label on the contrasting piece of fabric.
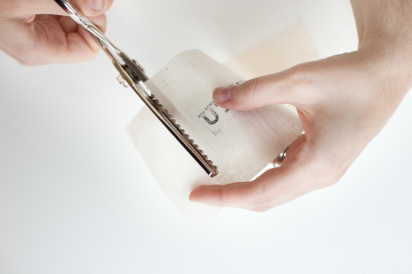
04 // TRIM & GLUE Using the pinking shears, trim the label, leaving about a 3/8″ border or whatever you desire. Then using the fabric glue, adhere ric rac to the back of the label and allow it to dry.
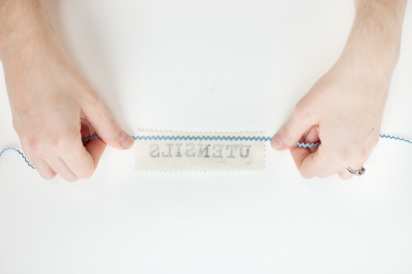
05 // TIE ON LABEL Once the label is dry, tie it around the canister and fill with your favorite kitchen utensils!